Mastering Par Four Disc Golf Holes: Tee Signs and Strategic Shots

Disc golfers often face an exciting challenge when encountering par four holes on the course. These longer, strategically designed holes require careful planning and execution to achieve the coveted birdie. In this guide, we’ll explore the dynamics of par four disc golf holes, emphasizing the significance of tee signs and the nuanced nature of the second shot.
Understanding Par Four Holes
Par four disc golf holes present a unique opportunity for players to showcase their skills over an extended stretch. Unlike shorter holes, where a single well-placed shot can lead to a birdie opportunity, par fours demand a more calculated approach. Typically, these holes are longer, requiring two well-executed shots to reach the basket in regulation.
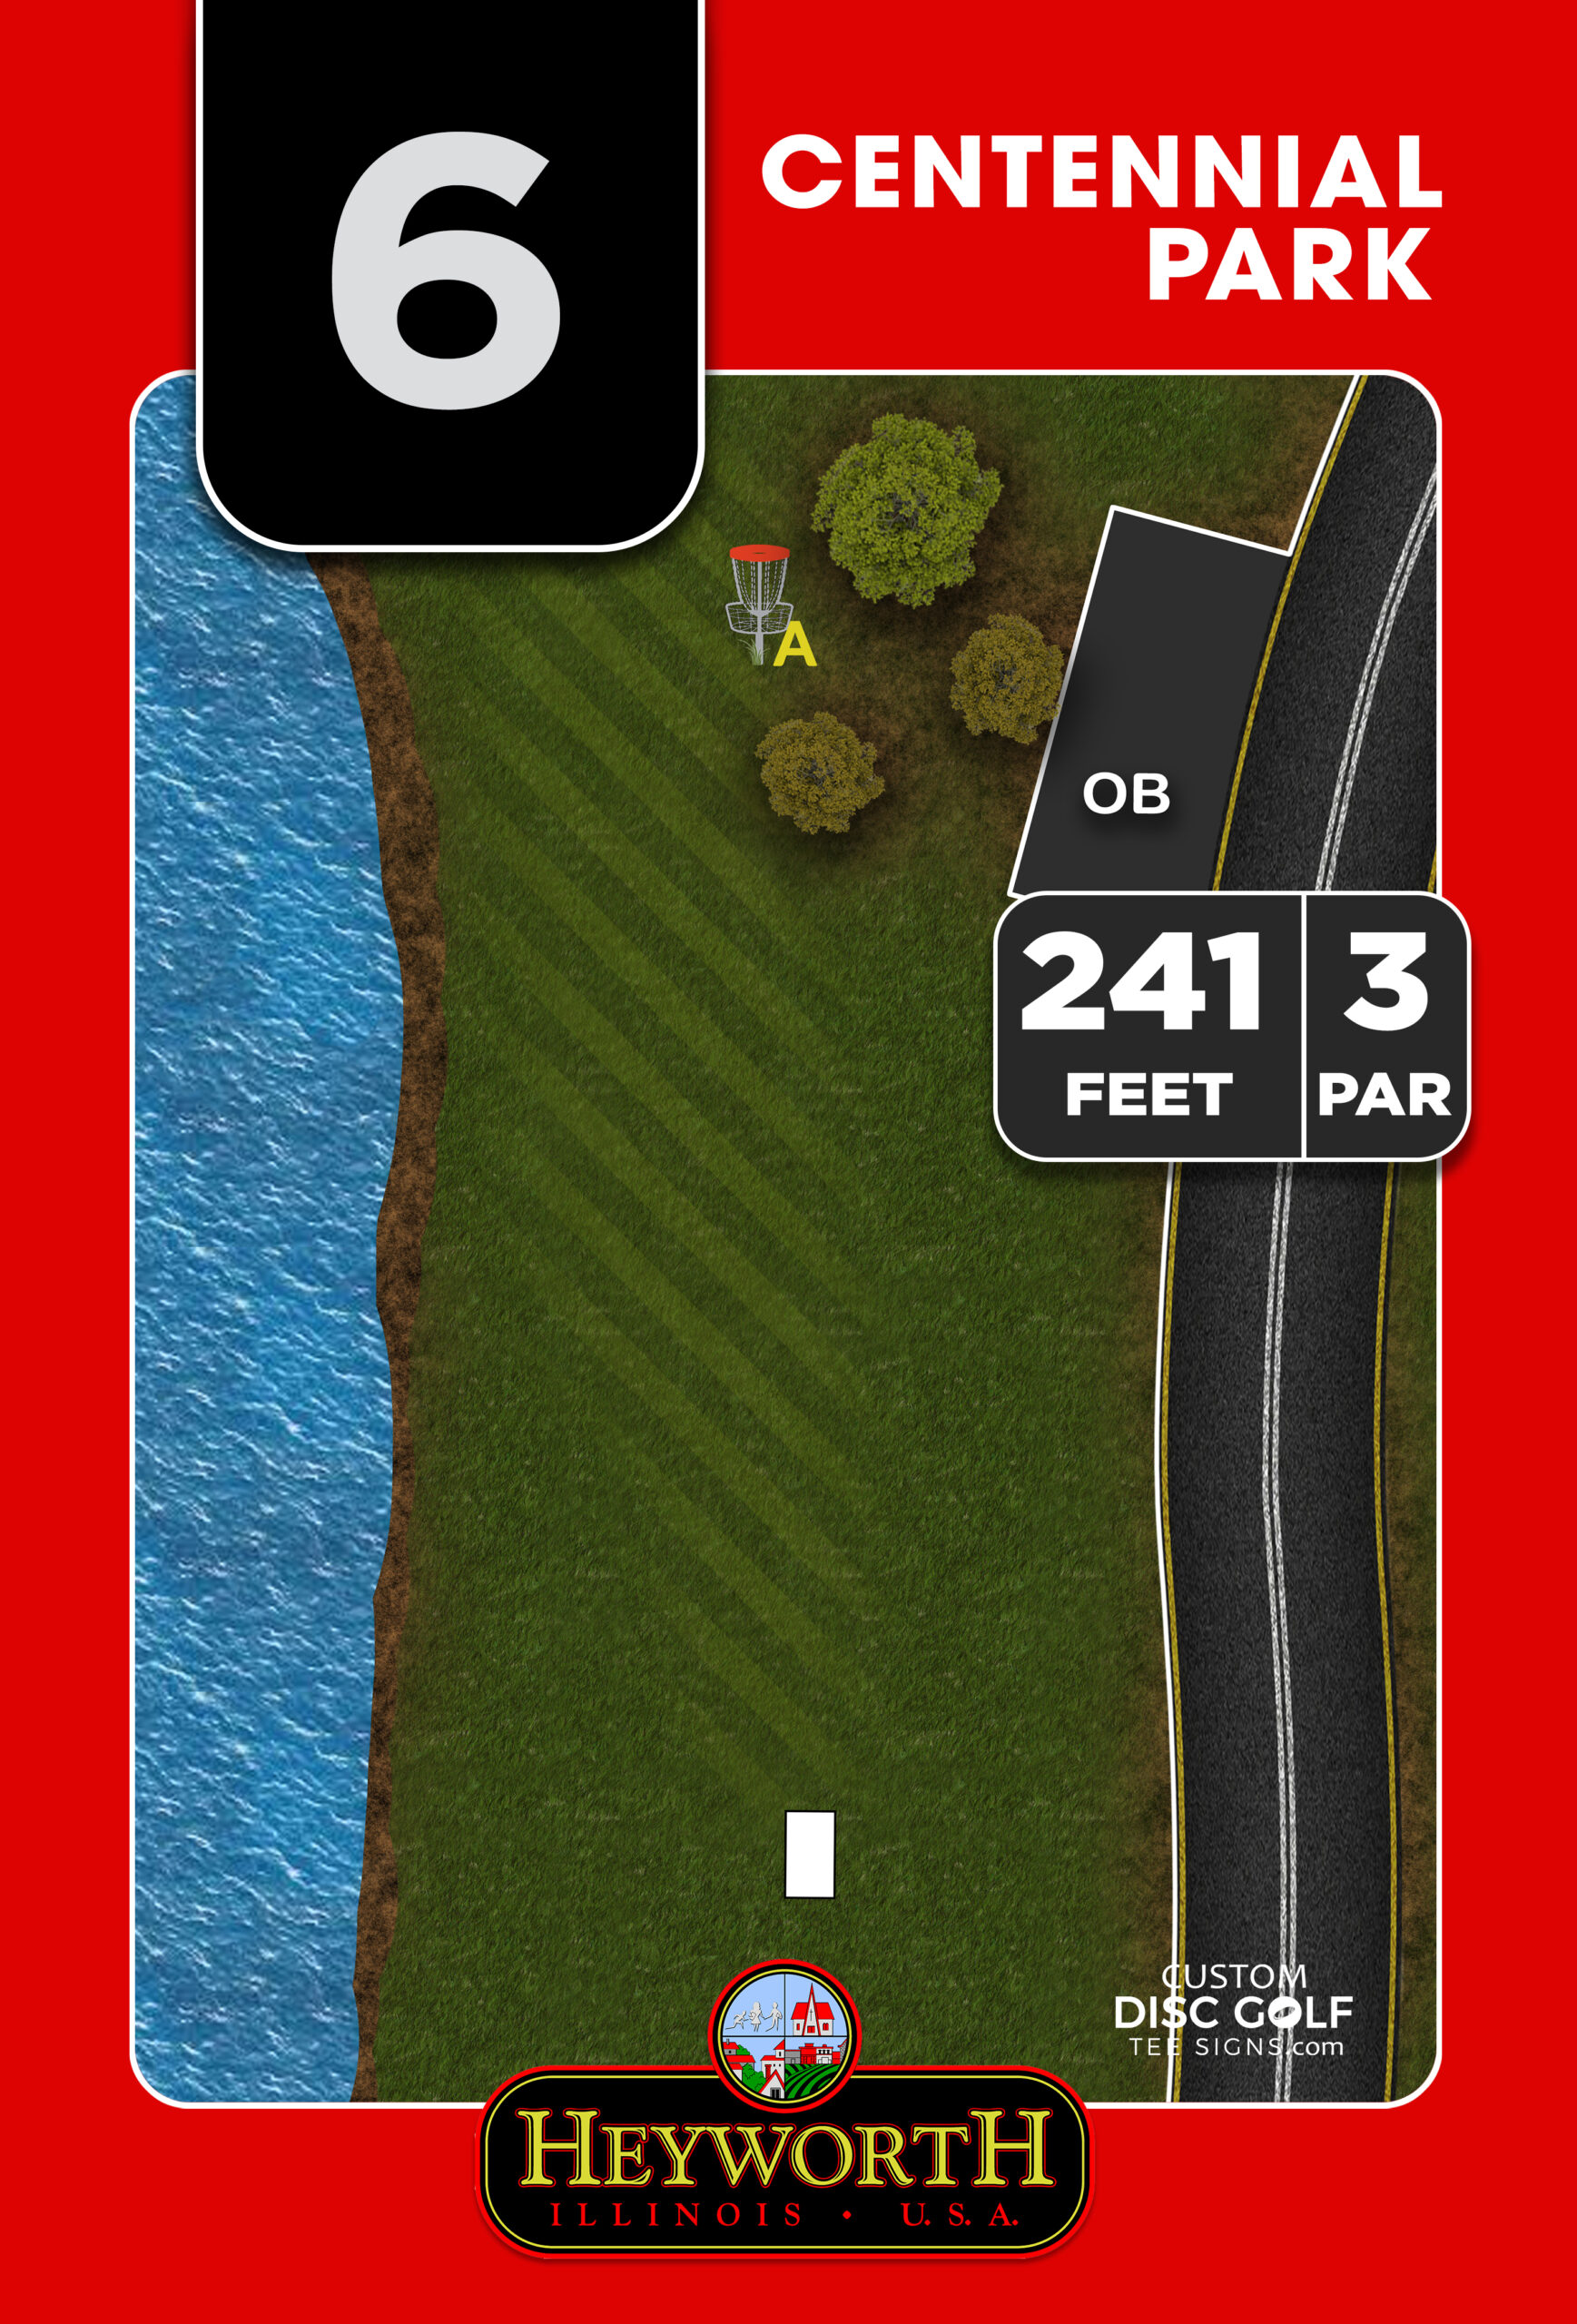
Tee Signs: Your Guide to Strategy
Tee signs play a pivotal role in decoding the layout of par four holes. They provide valuable information about the hole’s length, potential obstacles, and the ideal landing zones for both the initial drive and subsequent shots. Utilizing this information effectively can significantly impact a player’s approach to the hole.
One crucial aspect highlighted by tee signs on par four holes is the strategic significance of the second shot. Unlike shorter holes where the second shot may mirror the first, par fours often demand a different approach on the subsequent play. This variability introduces an element of adaptability and strategy that tests a player’s versatility and decision-making.
Two Good Shots for Birdie

To attain a birdie on a par four, a player must masterfully navigate the hole with two exceptional shots. The first shot, typically off the tee, aims to secure an advantageous position, ideally setting up for a more manageable second shot. This initial drive sets the stage for the critical follow-up.
The second shot on a par four is where the dynamics frequently change. Factors such as wind direction, positioning after the first shot, and potential obstacles often create a different scenario compared to the previous round. Consequently, players must reassess their approach, making split-second decisions to capitalize on the best available opportunity for a successful approach shot.
Adapting to Changing Circumstances
What makes par four holes fascinating is their inherent variability. Even if a player has tackled the same hole previously, the second shot rarely mirrors the previous play. This unpredictability challenges players to think on their feet, adapt to the present circumstances, and adjust their strategy accordingly.
Ultimately, mastering par four disc golf holes is about embracing the challenge, decoding tee signs for strategic insights, and demonstrating adaptability in executing two well-calculated shots. Whether it’s adjusting to wind conditions, reevaluating the ideal landing zone, or choosing the right disc for the second shot, success on par fours demands versatility and strategic thinking.
In conclusion, the art of scoring a birdie on a par four in disc golf isn’t just about skill; it’s about understanding the nuances of the hole, utilizing tee signs for strategy, and adapting to the ever-changing dynamics of the course.
Gear up, analyze those tee signs, and let the challenge of par four disc golf holes refine your skills and strategy on the course!