Outdoor Sign Proof Approval Process Explained

A tee sign can look excellent on a monitor and still create a problem once it is installed at Hole 7. A missing mando arrow, an outdated distance, a sponsor logo placed too close to key course information, or a map oriented the wrong way can confuse players for years. That is why the outdoor sign proof approval process is one of the most valuable stages of a disc golf signage project. It gives course leaders a clear, organized opportunity to confirm every detail before durable, full-color signs move into production.
For clubs, municipalities, park departments, and volunteer project leaders, proof approval is not paperwork for its own sake. It is quality control for the player experience, the project budget, and the course’s public presentation.
What a Sign Proof Is Actually Confirming
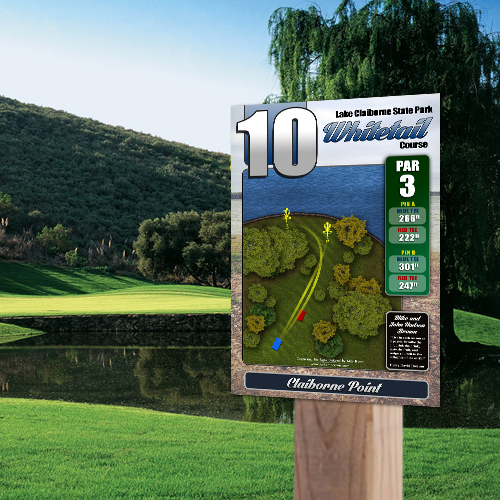
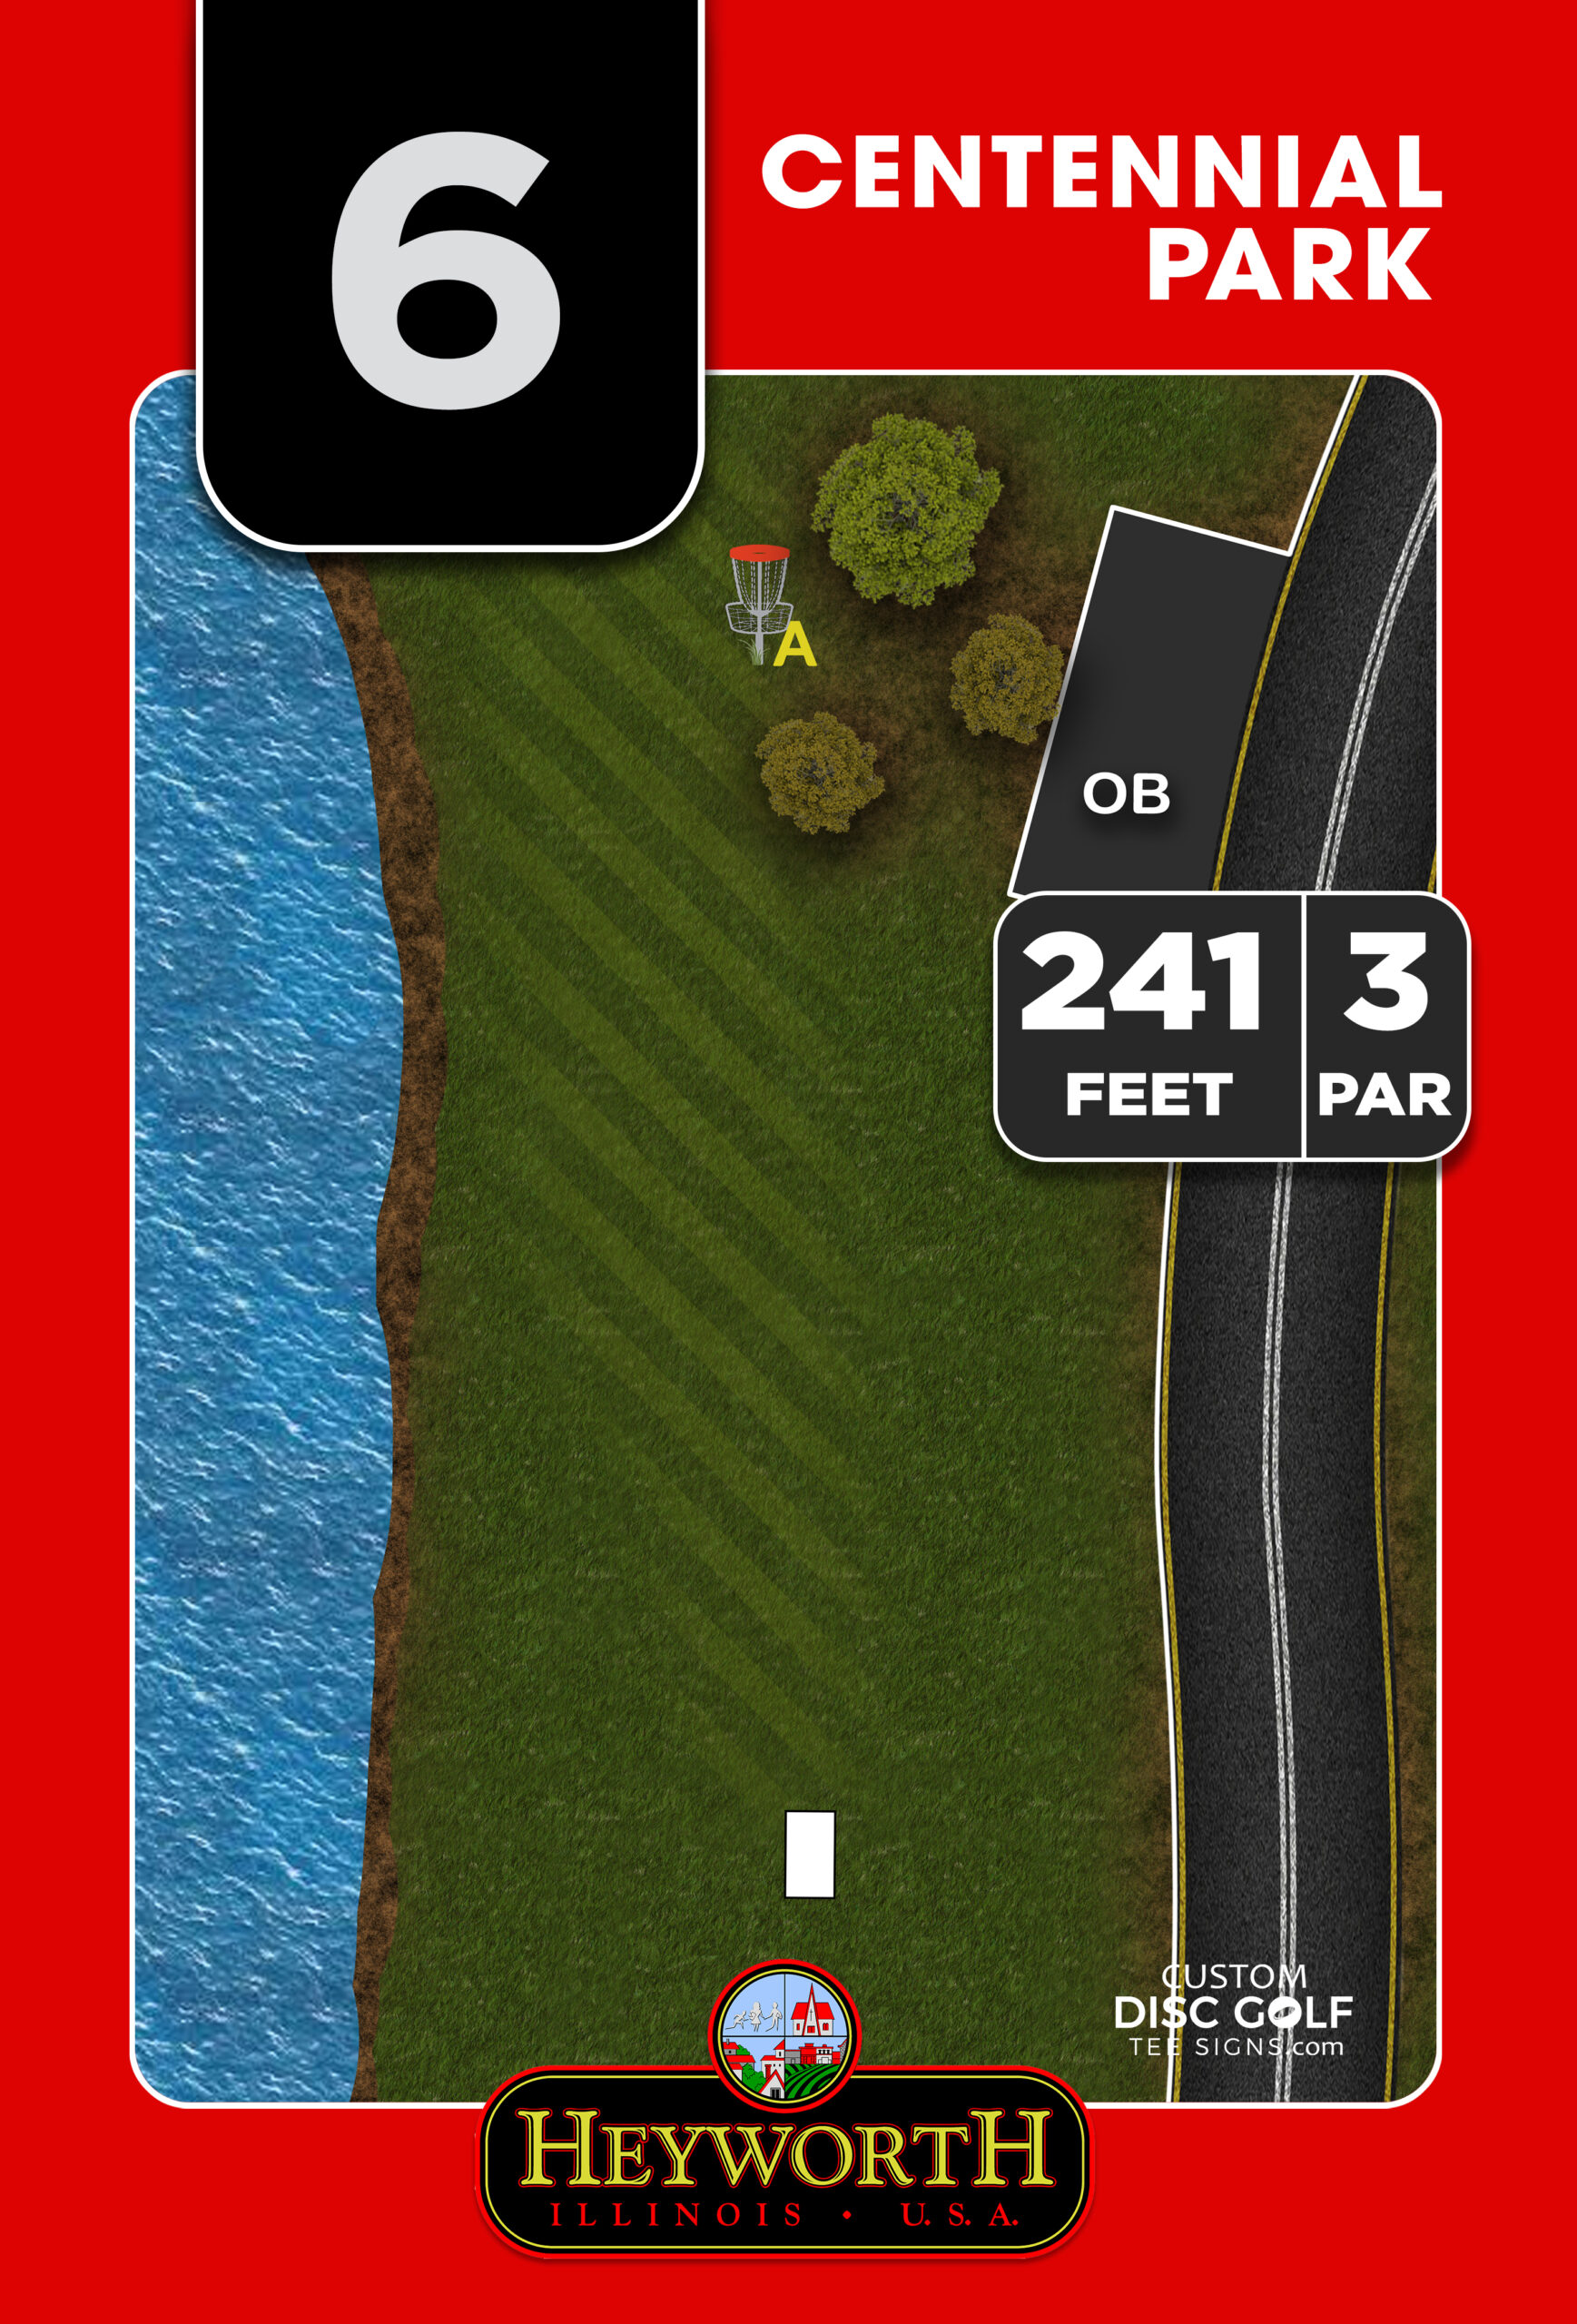
A proof is a detailed digital representation of the artwork that will be printed on your tee signs, course maps, or navigation signs. It lets the project team review layout, wording, hole information, logos, colors, sponsor placements, and visual hierarchy before final production.
The proof is not simply a chance to catch spelling mistakes, although that matters. It is the point where a course team verifies that the sign communicates correctly in the real-world setting where players will use it. A great tee sign should help an unfamiliar player find the fairway, understand the hole shape, identify relevant hazards, and feel confident about where to go next.
That review needs to account for the practical limitations of a sign face. There is only so much space available, especially on a standard-sized sign. Adding more text, more sponsor logos, or more features can be helpful, but it can also make the primary hole information harder to read. The strongest proof decisions protect clarity first and add supporting information where it serves the player and the project.
The Outdoor Sign Proof Approval Process, Step by Step
A structured process keeps feedback useful and prevents a project from getting stalled by scattered emails, conflicting edits, or late discoveries. While every course has different needs, the workflow generally follows a clear sequence.
Start with accurate course information
The quality of the proof depends on the information supplied at the beginning. Course managers and organizers should provide final hole distances, pars, tee pad references, basket locations, fairway notes, next-tee directions, logos, brand colors, and sponsor artwork. If there are multiple layouts, identify exactly which layout information belongs on each sign.
This is also the right time to flag special course conditions. A heavily wooded technical course may need a clearer fairway path on the hole map. A property with long walks between holes may benefit from stronger next-tee navigation. A championship layout might require separate tee and pin details that a casual recreation course does not need.
If the course is still changing baskets, tee locations, or hole numbers, it is usually wise to resolve those changes before approving final sign art. Printing from information that is still in motion creates unnecessary risk and can lead to expensive replacements later.
Review the first design proof for direction
The initial proof establishes the visual system for the project. This is where the team evaluates the overall look: course branding, color palette, typography, map style, information placement, and sponsor integration.
At this stage, reviewers should ask whether the sign is easy to understand from a standing position at the tee. Does the hole number stand out? Are distance and par immediately visible? Is the fairway route clear? Does the design fit the identity of the park, club, or municipality?
It helps to focus comments on outcomes rather than vague preferences. Instead of saying that a sign feels crowded, identify what is competing for attention. For example, a reviewer may request a larger distance number, a simpler legend, or a smaller sponsor block so the hole map stays prominent. Specific feedback gives the design team a direct path to improve the proof.
Consolidate feedback before sending revisions
Multiple stakeholders are common in public-course signage projects. A parks director may care about municipal branding, a club representative may know the course details best, and sponsors may need logo approval. That input is valuable, but it needs one point of coordination.
Choose one project lead to collect comments and send a single consolidated response. This avoids the common problem of one reviewer asking for an element to be removed while another asks for it to be enlarged. It also reduces duplicate revisions and keeps turnaround moving.
For larger projects, establish who has final authority before proofs begin. That might be a course manager, a club board representative, or a municipal project coordinator. Everyone can contribute, but final approval should come from a designated decision-maker.
Check every proof at the detail level
Once the visual direction is approved, the next review should be deliberate and methodical. Read every line, compare every distance against the course plan, and inspect every logo. Do not assume that an item reviewed on an earlier proof remains correct after a layout change.
A final proof review should confirm the following items:
- Hole number, par, distance, tee designation, and basket or pin details
- Fairway shape, hazards, out-of-bounds areas, mandatories, and next-tee direction
- Course, club, park, and municipal logos in the correct versions
- Sponsor names, logo files, placement, and any agreed recognition level
- Phone numbers, website text, QR codes, rules, and contact information, if included
- Sign quantities, sizes, materials, and any custom shapes or mounting requirements
This level of review matters most when a project includes a course overview map or several sign types. A navigation sign may use different information than a tee sign. A sponsor panel may have a different approval requirement than a course map. Each piece should be reviewed in the context of its intended location.
Give clear written final approval
Production should begin only after the authorized project lead provides written approval of the final proof. This creates a clear record of the approved artwork and protects everyone from uncertainty about which revision was intended for print.
Before sending approval, make sure you are looking at the final file version. If the proof is labeled with a revision date or number, reference that identifier in your approval message. This small step prevents confusion when several rounds of edits have occurred.
Once final approval is provided, changes may affect production timing and costs, depending on where the order is in the workflow. That is not a reason to rush the review. It is a reason to review carefully while adjustments are still easy to make.
Proof Colors and Materials: What You See on Screen
A digital proof is highly effective for checking design, hierarchy, content, and placement. However, screens display color using light, while printed signs use inks on physical materials. Device settings, monitor brightness, and outdoor lighting can all affect how a color appears.
For most disc golf signage projects, the priority is a clean, high-contrast design that remains readable outdoors. Dark text on a light background, clear differentiation between fairway and rough, and strong directional arrows typically matter more than pursuing an exact screen-color match.
Material selection also supports the final result. Durable substrates such as aluminum composite and aluminum are well suited to outdoor use, while UV-protected printing helps preserve the full-color artwork against sun exposure. The right material depends on the installation environment, expected lifespan, mounting method, and project budget. A busy public course with years of sun, weather, and player traffic may justify a more premium option than a temporary event layout.
Common Approval Delays and How to Avoid Them
The biggest delays rarely come from the proof itself. They usually come from incomplete information or unclear decisions. A sponsor logo arrives after the layout is nearly complete. A club discovers that the measured distance was taken from the wrong tee pad. A city department requires a logo treatment that was not discussed at the start.
Set a review deadline, identify the final approver, and gather sponsor artwork before the first proof whenever possible. For a volunteer-led project, give reviewers a short checklist and explain that silence is not approval. A project lead should confirm every major item before production is authorized.
It is also worth thinking beyond the first installation. If your course frequently changes layouts, consider how future updates will be handled. A flexible sign program may use replaceable panels or allow for a separate update plan. If the layout is stable and the goal is a permanent, polished installation, a fully integrated sign design can deliver a stronger presentation.
Approval Is Where a Signage Project Becomes a Course Asset
Well-designed disc golf signage does more than label a hole. It improves navigation, supports tournament readiness, creates a more professional impression for first-time visitors, and gives sponsors visible recognition without disrupting the player experience.
At Custom Disc Golf Tee Signs, the proofing stage is built to keep that standard practical. Course-specific artwork, organized revisions, and clear approval points give project teams the confidence to move from idea to finished signs without guessing what will arrive.
Give the proof the same attention you would give an on-site course walk. When every hole detail, directional cue, and sponsor element is confirmed before production, the finished installation is far more likely to serve players well from opening day onward.