Club Signage Project Checklist for Disc Golf
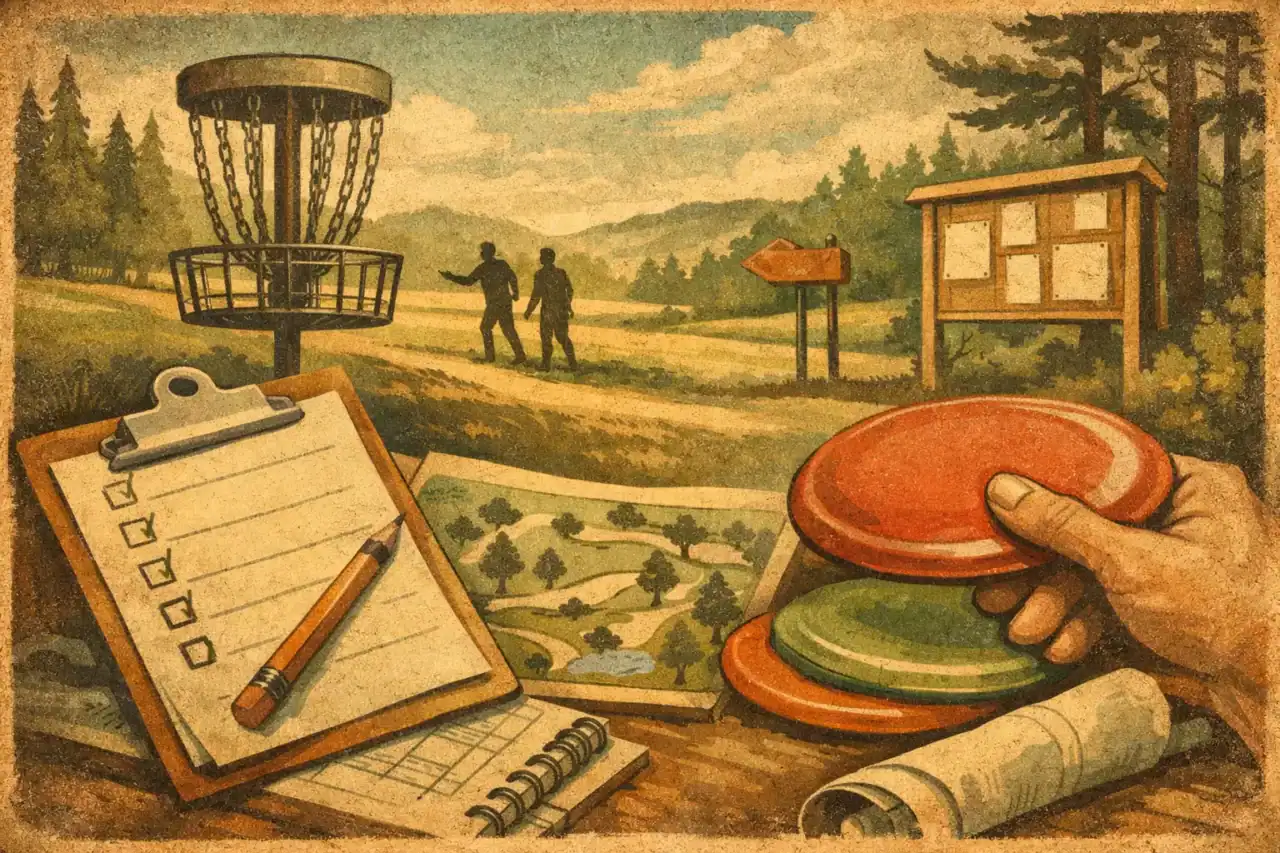
A disc golf signage project usually starts with good intentions and a messy folder. Someone has old hole distances in a spreadsheet, someone else has a hand-drawn course map, and the park contact wants a final budget before approving anything. A solid club signage project checklist keeps that project from stalling, helps your stakeholders stay aligned, and gets better signs on the course faster.
For clubs, parks, and course organizers, signage is not just a finishing touch. It affects navigation, pace of play, course identity, sponsor visibility, and how seriously players take the facility. If the signs are inconsistent, hard to read, or missing key details, the course feels unfinished even when the layout itself is strong. A better process fixes that.
Start the club signage project checklist with scope
Before anyone talks about colors, shapes, or sponsor logos, define the actual scope of the project. Some courses only need tee signs at every hole. Others need a complete signage system with a kiosk map, directional signs, next tee arrows, OB notices, and branded welcome signage. Those are very different jobs with different budgets and timelines.
This is also where clubs can avoid one of the most common mistakes – treating signage as a hole-by-hole purchase instead of a coordinated system. If you order signs in phases without a shared design standard, the course can end up looking patched together. That may be acceptable for a temporary upgrade, but it is usually not the right move for a permanent installation.
A practical starting point is to answer three questions. What signs are required now, what signs can wait until phase two, and what level of visual consistency matters for your course image? A local volunteer-built course may prioritize affordability first. A municipal showpiece course may need a polished system from day one.
Gather the course information before design begins
Most delays in tee sign projects happen before design, not during printing. The artwork can only be as accurate as the information provided. If hole lengths, par, pin positions, mando rules, or tee locations are still changing, expect rework.
Get your course data organized early. That includes hole names or numbers, measured distances, par, fairway layout references, alternate basket or tee details, out-of-bounds notes, and any local rules that belong on the sign. If the course has multiple layouts, decide whether each sign will display one layout or several. Multi-layout signs can be useful, but they also get crowded quickly. If readability is the priority, separate sign versions may work better.
Photos, satellite references, and any existing map files are helpful at this stage. The more clearly the design team can see the real layout, the better the final sign will represent elevation changes, landing zones, tree lines, and hazards. For public courses, verify that the information matches what is currently installed on the ground, not just what appears in an older event guide or social post.
Confirm what belongs on every sign
Consistency matters. Decide which elements should appear on every tee sign so the player experience feels uniform from hole 1 to hole 18. That often includes hole number, par, distance, fairway map, tee pad orientation, basket location, logo, and directional cues. Some clubs also add QR codes, rules reminders, or sponsor panels.
The trade-off is space. The more you ask a sign to do, the more important design discipline becomes. Large, clear layouts usually serve players better than cramming every possible detail into one panel.
Assign one decision-maker and one review path
Committee-driven projects can succeed, but only if the review process is clear. If five people are sending separate corrections at different times, approvals get slow and errors multiply. Every course signage project needs one point person who gathers feedback, resolves conflicts, and sends consolidated revisions.
For park departments and municipalities, this may be a recreation manager or project coordinator. For clubs, it may be the course lead, board member, or Eagle Scout project organizer. The title matters less than the authority to keep the project moving.
It also helps to set the approval order up front. For example, club review first, landowner approval second, sponsor check third, then final production approval. That sequence prevents avoidable backtracking.
Build the budget around materials, not just sign count
A common budgeting mistake is focusing only on how many signs are needed. Sign count matters, but material selection, mounting method, artwork complexity, and sponsor integration all affect the final number.
For permanent outdoor disc golf signage, durability should be part of the first budget conversation. UV exposure, moisture, mowing, trimming equipment, and general park wear all take a toll. A sign that looks inexpensive up front can become expensive if it fades fast or needs replacement after a short period.
This is why clubs should compare substrates carefully. Aluminum composite can be a strong fit for many installations because it balances durability, print quality, and value. Solid aluminum may be preferred in some higher-impact or longer-term environments. There is no universal answer. It depends on your site conditions, expected lifespan, and budget.
Installation hardware should also be included early. A high-quality sign package still needs the right posts, brackets, and mounting plan to perform well on the course.
Use sponsorship strategically
Sponsorship can turn a delayed signage plan into an active project. For many clubs and public courses, sponsor panels are not just a bonus – they are what makes the upgrade possible.
That said, sponsorship works best when it is planned into the layout from the beginning. If sponsor space is added late, it often competes with the actual hole information. When sponsor placement is designed intentionally, the sign can stay clean, readable, and revenue-friendly at the same time.
This is one of the most useful parts of a club signage project checklist because it connects design decisions to funding decisions. Decide how many sponsor placements are available, what each sponsor receives, how long the term lasts, and whether logos need to be submitted in a specific file format. It is much easier to collect clean artwork before design starts than to chase businesses for replacement logos at proofing time.
Decide whether sponsors are coursewide or hole-specific
Some clubs sell one sponsor per hole. Others create tiered placements with title sponsors on kiosks or overview signs and smaller placements on tee signs. Hole-specific sponsorship is easy to explain and sell. Coursewide sponsorship can create a more controlled visual system. The best option depends on your fundraising goals and how much logo presence you want on each sign.
Plan for readability on the course, not on a laptop screen
A sign proof can look sharp at full size on a monitor and still fail in the field. Players read tee signs outdoors, often quickly, sometimes in glare, and from different heights and angles. That changes how good design should be judged.
Readable fonts, clear contrast, smart use of color, and fairway maps that prioritize shape over decoration all matter more than visual extras. This is where a disc-golf-specific signage team has a real advantage. They know the difference between a sign that looks attractive in a file and a sign that actually helps a player choose a line.
This is also the point where custom shape decisions should be weighed carefully. A custom-shaped sign can elevate the look of a course and reinforce branding, especially on flagship installations. But shape should not reduce legibility or complicate mounting unnecessarily. For many projects, a standard format with excellent artwork performs better than a flashy format with compromised space.
Review proofs like an operations team
When proofs arrive, review them with a field mindset. Do not only check spelling. Verify distances, arrows, basket positions, next tee directions, sponsor names, logo quality, and any local rule language. If the course has undergone recent changes, compare each sign against the current layout hole by hole.
It helps to print sample proofs on paper and hold them at a realistic viewing distance. That simple step catches issues that are easy to miss on screen, especially small text, cluttered legends, or weak contrast.
At this stage, speed matters too. The faster consolidated corrections come back, the easier it is to stay on schedule for production and shipment.
Think through installation before the signs arrive
A finished sign package is only half the project. Installation planning should happen while design is being finalized, not after the boxes show up.
Confirm post type, hole locations, hardware needs, crew availability, and any site restrictions. Public parks may require utility checks, maintenance coordination, or approval for exact placement. Volunteer-led installs may need a workday plan with tools, transport, and weather backup dates.
Also decide how consistent the installation should be across the course. Standard post height, angle, and offset from the tee pad make the course feel more professional. Small inconsistencies may not seem serious during installation, but players notice them over time.
Choose a partner who can keep the process tight
A signage vendor should do more than print panels. The right partner helps organize information, flag issues before production, and guide the project from concept through proofing and delivery. That is especially valuable when clubs are balancing sponsors, landowners, board approvals, and volunteer labor.
Custom Disc Golf Tee Signs works in that exact lane, which is why specialized workflow matters. When the design team already understands tee sign hierarchy, fairway map composition, sponsor integration, and durable outdoor materials, the project moves faster and comes out cleaner.
A good checklist does not make the project complicated. It removes preventable confusion. When your course information is accurate, your approvals are clear, your sponsor plan is organized, and your materials match the environment, the signs stop being a headache and start becoming an upgrade players notice right away.
If your course is ready for better signage, the smartest next step is not rushing into artwork. It is getting organized enough that the final signs can do their job for years.