How to Coordinate Disc Golf Sign Approvals

A tee-sign project can be fully designed, budgeted, and ready to print, then stall because one park official has not reviewed sponsor placement or a course manager spots an outdated hole distance. The way to coordinate disc golf sign approvals is to create one clear review path before artwork begins. That protects your schedule, keeps decision-makers aligned, and prevents expensive reprints after signs are installed.
For clubs, municipalities, parks departments, and volunteer-led course upgrades, approval is not a formality. It is the checkpoint that ensures every tee sign, map, and navigation marker represents the course accurately and meets the expectations of the property owner. A practical workflow lets your team move quickly without asking a dozen people to weigh in on every small design change.
Start With One Project Lead
Choose one person to collect feedback and provide final approval to the sign designer. This is usually the course manager, club president, parks representative, or project coordinator. Their job is not to make every decision alone. Their job is to make sure the feedback reaches the design team in one organized, approved set of instructions.
Without a project lead, comments tend to arrive from several directions: a parks supervisor requests a logo change, a volunteer sends a revised hole map, and a sponsor asks for more visibility. Each request may be reasonable, but scattered communication creates version confusion. Establish early that the designer will work from the project lead’s consolidated feedback.
The lead should also identify who has authority over the final sign system. On a public course, that may include a city recreation director, park superintendent, or facilities department. On a private course, it may be the owner or operations manager. Knowing the true final approver at the start is one of the simplest ways to avoid a late-stage delay.
Build the Approval Team Before Design Begins
Not every stakeholder needs to approve every detail. Separate the team into contributors and approvers. Contributors supply useful information, such as current tee distances, par, local rules, course branding, sponsor commitments, and installation conditions. Approvers are the limited group authorized to say the artwork is ready for production.
For most disc golf signage projects, the approval team includes the course or property representative, the club or course-design representative, and the person managing the budget. If sponsor panels are included, assign one person to confirm sponsor names, logos, and placement commitments. This is especially helpful when several businesses help fund a course improvement project.
Ask the team to agree on the sign package early. A basic navigation package may require fewer approvals than a championship-level system with detailed hole maps, event-ready branding, sponsor panels, and custom-shaped signs. More customization creates a stronger on-course experience, but it also requires more accurate source material and more focused review.
Confirm What Must Appear on Every Sign
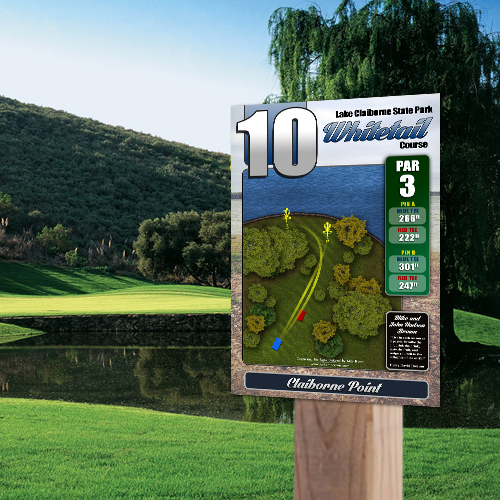
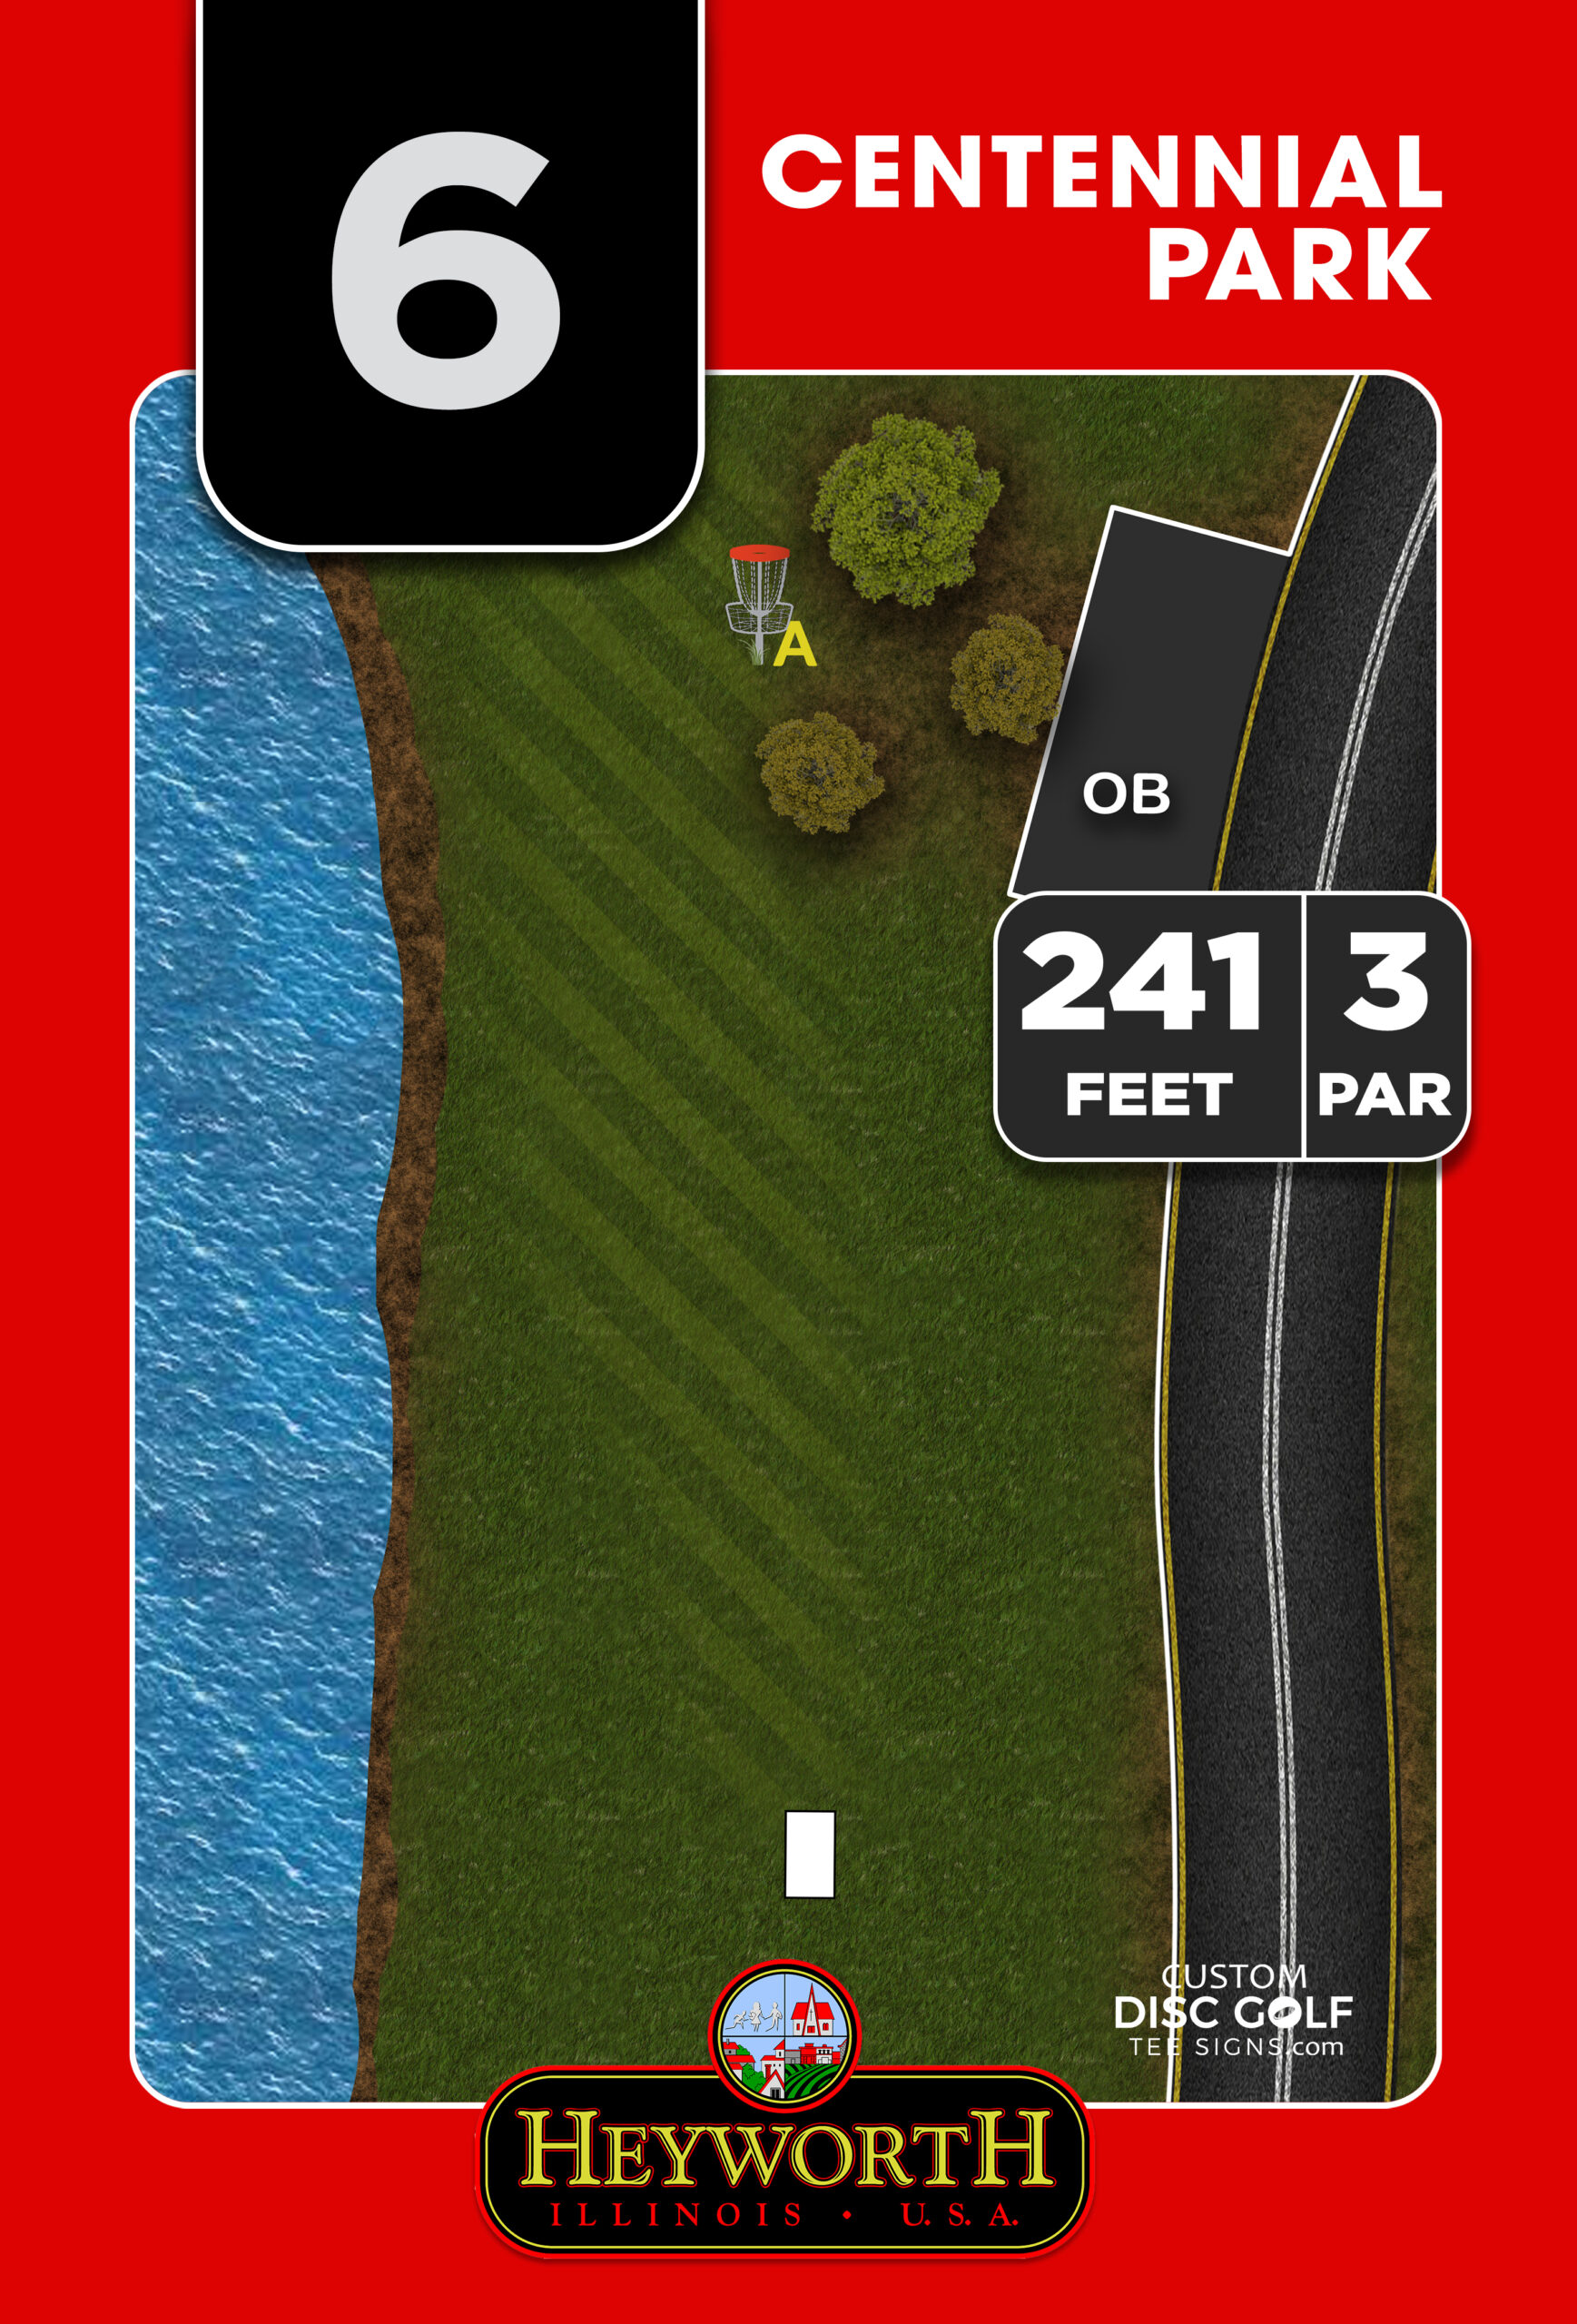
Create a written content checklist before the first proof. It should cover the information that players need and the information the property expects to see. For tee signs, that often includes hole number, par, distance, target location, fairway layout, hazards, next-tee direction, course branding, and any required park or municipal messaging.
Also decide what does not belong on the sign. A crowded tee sign may contain every possible detail and still be harder for players to use. The goal is clear, fast decision-making at the tee pad. If the course has extensive rules, emergency information, or event notices, a course overview sign or dedicated kiosk may be a better location than every individual hole.
Collect Accurate Course Information in One Pass
Most approval delays begin with incomplete or conflicting course data. Before design work starts, gather the latest information from the people who know the course best. Do not rely only on an older scorecard, a social media image, or a map from before a redesign.
Confirm the current layout, hole numbering, tee locations, basket positions, pars, measured distances, mandatories, out-of-bounds areas, water hazards, and alternate pin positions. If the course uses multiple tees or seasonal layouts, decide whether the signs will show all options or only the standard configuration. The right answer depends on how often those layouts change and how much information can remain readable at tee-side viewing distance.
Provide clean source files for official logos whenever possible. A low-resolution logo may look acceptable in an email but print poorly at sign scale. Sponsors should submit their approved brand mark, preferred colors, and exact business name by a stated deadline. That gives the project lead time to verify every sponsor asset before it enters the proof.
For a map-based system, walk the course with the latest layout in hand. Mark any recent changes that may not appear in GPS records, including new paths, moved baskets, temporary hazards that became permanent features, or a next-tee route players frequently miss. This field check is often the most valuable step in the entire approval process.
Use Proof Rounds With a Specific Purpose
A proof should not be treated as a general invitation for open-ended opinions. Each round should answer defined questions. The first proof is for accuracy: Are the layouts, distances, par, logos, rules, and sponsor details correct? The second proof is for presentation: Is the hierarchy clear, is the map easy to read, and does the full sign system look consistent?
Give reviewers a realistic deadline, usually a few business days, and ask them to send feedback in one document or email. Comments such as “make it pop” are hard to act on. Comments such as “move the city logo to the lower left, change Hole 7 to par 4, and use the attached sponsor logo” can be completed quickly and verified easily.
When working with a professional disc golf sign provider, the proofing stage is where custom design earns its value. The designer can turn accurate course information into a visual system that helps players navigate while reinforcing the identity of the facility. But design cannot solve conflicting instructions. The project lead should resolve internal disagreements before submitting revisions.
Review at Full-Size Readability
A proof displayed on a phone or laptop does not perfectly represent a sign at the course. Review text size, line weight, contrast, and map detail with the installed viewing distance in mind. A small note that looks crisp on screen may be too small to read in bright sun from a few feet away.
Pay close attention to directional arrows, throwing lines, landing zones, water, wooded corridors, and next-tee indicators. These are functional features, not decoration. If a player cannot identify the intended route or find the next tee, the sign is not doing its job no matter how polished the graphic looks.
Material and mounting decisions should be approved at this stage as well. Durable UV-protected aluminum composite and aluminum options are built for demanding outdoor conditions, but the best choice depends on mounting hardware, exposure, vandalism concerns, local weather, and the desired lifespan. Confirm the final sign dimensions and mounting approach before production so artwork and installation work together.
Set Rules for Sponsors and Municipal Branding
Sponsorship can make a high-quality sign project more attainable, especially for clubs, nonprofit groups, and Eagle Scout coordinators. It also adds another approval layer. Establish a standard sponsor panel size, logo treatment, and renewal policy before you begin collecting commitments.
Avoid promising a sponsor placement that has not been approved by the property owner. Many park systems have rules about commercial recognition, logo sizes, alcohol-related businesses, or the amount of branding allowed on public land. Get those guidelines in writing and use them consistently. A clean, standardized sponsor area often looks more professional than a sign filled with competing logo sizes.
Municipal logos, park seals, and department language may have their own usage requirements. Send those elements to the appropriate official during the first proof round rather than waiting for general approval. That targeted review prevents a last-minute request to replace an outdated seal or alter required wording.
Document Final Approval Before Production
Final approval should be unmistakable. Ask the authorized project lead to confirm in writing that the proof is approved for production. The confirmation should state that all spelling, distances, hole layouts, logos, sponsor information, colors, quantities, and sign sizes have been reviewed.
This is also the right time to lock the production count. Verify whether the order includes one sign per hole, practice-area signage, a course overview board, directional signs, replacement signs, or extras for future layout changes. Ordering a small number of spares can be worthwhile for high-traffic courses, but it depends on the budget and how stable the layout is expected to remain.
Once production begins, changes can affect turnaround time and cost. That is why a disciplined approval process is not bureaucracy. It is how you protect the investment your club, sponsors, or community has made in the course.
Keep Installation in the Approval Plan
Sign approval is complete only when the installed system has been considered. Before signs ship, confirm who will receive them, where they will be stored, who has installation responsibility, and whether posts, frames, hardware, or permits are needed. A course map may need a different mounting solution than individual tee signs, and public properties may require utility checks or facilities coordination before digging.
After installation, walk the course as a first-time player would. Check that every sign faces the correct direction, the map corresponds to the visible fairway, and the next-tee guidance works from the basket. A final field review gives your team a better chance to catch an installation issue before it becomes a recurring player complaint.
A well-run approval process lets your course move from scattered ideas to durable, player-ready signage with confidence. Give the right people a defined role, verify the course details in the field, and approve one final proof before production. The result is a sign system that looks professional on opening day and continues to serve players, sponsors, and the facility for years.