Plan Park Disc Golf Wayfinding That Works
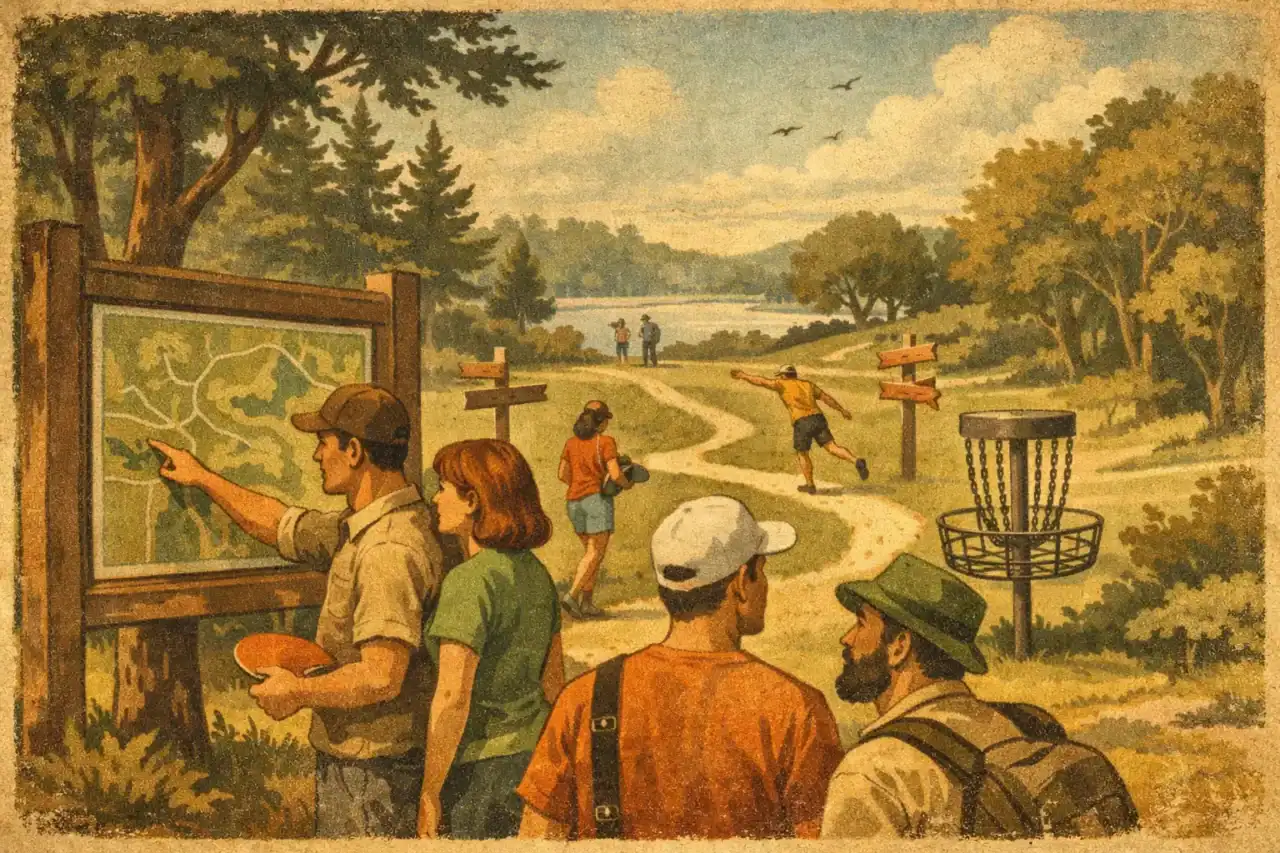
A player finishes Hole 6, looks up, and sees three worn paths, two park trails, and no clear route to Hole 7. That single moment can make an otherwise well-designed course feel unfinished. To plan park disc golf wayfinding effectively, treat navigation as part of the course experience, not as an afterthought added after baskets and tee pads are installed.
Good wayfinding keeps play moving, reduces questions for park staff, protects sensitive areas from shortcut traffic, and gives first-time visitors confidence. For municipalities, clubs, and course managers, it also creates a more professional public-facing facility that is easier to maintain and easier to promote.
Start With the Player Journey
Wayfinding works best when it follows the actual decisions players make. A course map at the parking lot is valuable, but it cannot solve every navigation issue once a group is deep in the course. Players need information at the point where uncertainty occurs.
Walk the course as if you have never played it. Start at the parking area, find the first tee, complete each hole, and identify every place where a reasonable person might pause and ask, “Where do I go now?” Include alternate parking areas, practice baskets, restrooms, pavilion spaces, trail intersections, crossing fairways, and places where the next tee is behind the current basket.
A useful park disc golf wayfinding plan typically has three layers. The first layer gets players from the parking area to the course entrance and first tee. The second layer helps them understand each hole from the tee pad. The third layer directs them from one completed hole to the next tee. When those layers work together, players spend less time searching and more time playing.
Build a Clear Hierarchy of Signs
Not every sign needs to communicate everything. Overloading a tee sign with park rules, sponsor logos, hole data, maps, and directional instructions can make the most important information harder to read. Assign each type of sign a specific job.
An entrance or kiosk map should give the big picture: course name, overall layout, parking, amenities, rules, emergency information, and a clear starting point. It is also the best place to recognize major project sponsors or community partners without crowding the on-course experience.
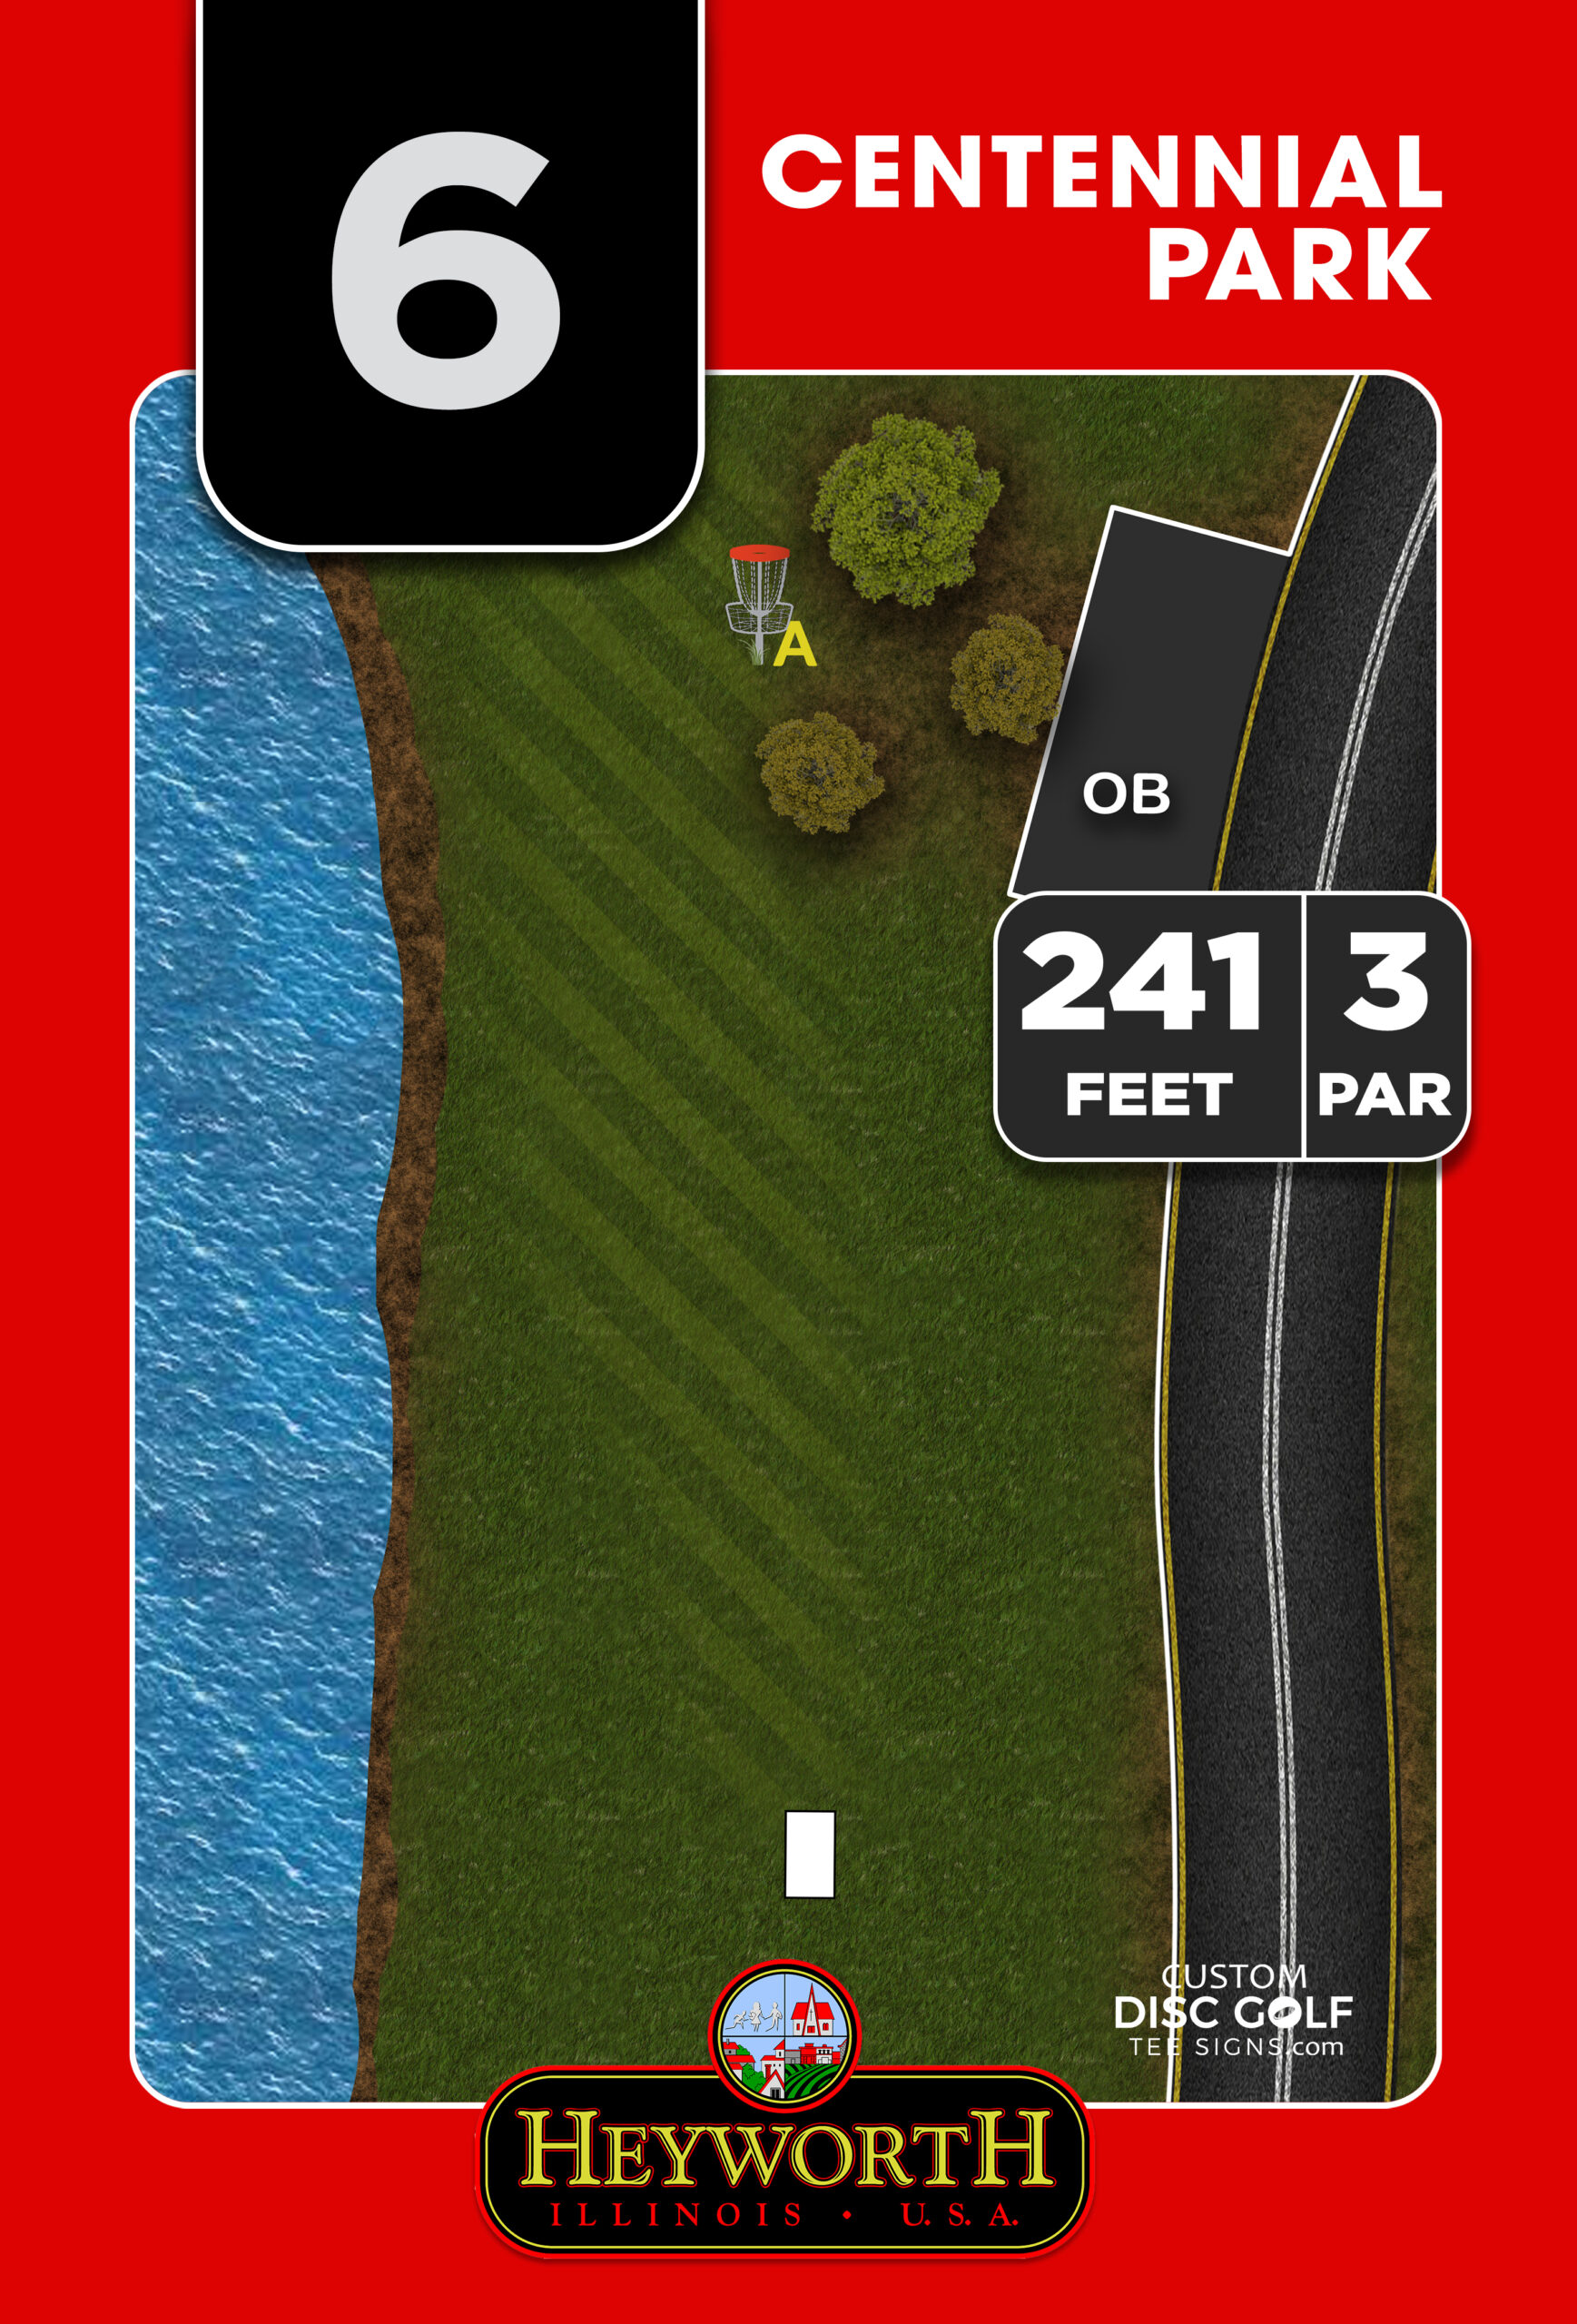
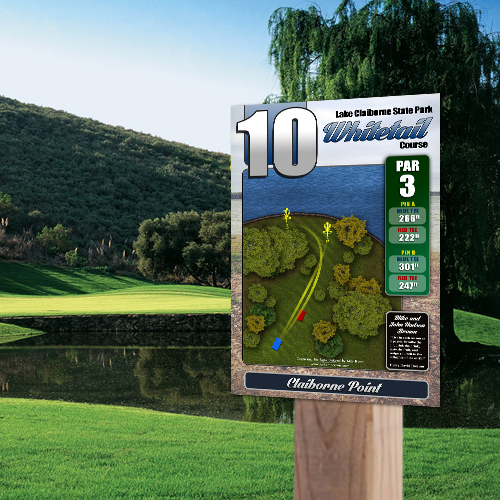
Tee signs should focus on the hole in front of the player. A strong full-color tee sign includes the hole number, par, distance, a clear fairway layout, major obstacles, basket location, and next-tee direction when needed. Directional arrows or small next-tee panels should handle the transition between holes, especially where the route is not obvious.
For a complete system, consider these distinct sign functions:
- Course overview maps at the entrance, parking lot, and other primary arrival points
- Tee signs with accurate hole information and easy-to-read layouts
- Next-tee directional signs at baskets, trail junctions, and confusing transitions
- Rules, safety, and courtesy signs where park operations or shared-use conditions require them
- Identification signs for practice areas, alternate tees, amenities, and course features
Consistency matters more than decoration. Use the same colors, type styles, arrow language, hole numbering, and logo treatment across the entire system. A player should know instantly that an arrow, map, or panel belongs to the course and can be trusted.
Put Signs at Decision Points, Not Just at Destinations
The most common wayfinding mistake is placing a sign only where the player is supposed to end up. By then, the player may already have taken the wrong path.
Instead, install direction at the decision point. If the route from Basket 4 to Tee 5 begins with a left turn at a fork, place the sign before or at that fork. If players can see the next tee from the basket, a small arrow may be enough. If the tee is hidden by trees, across a road, or beyond a shared park path, use a more visible directional sign and repeat the information if the route includes another turn.
Sightlines affect placement. A sign tucked behind a basket, mounted too low, or turned away from the natural walking line will not do its job. Stand at the basket and look where a player naturally looks after putting out. Then test the route from the perspective of a first-time visitor, not a course local who already knows every shortcut.
This approach also helps protect the park. Clear routes discourage players from cutting through landscaped areas, crossing restricted zones, or walking backward through active fairways. If a course shares land with hikers, playground users, or other recreation groups, precise routing is a safety and operational benefit, not just a player convenience.
Design for Readability in Real Outdoor Conditions
A course sign is rarely viewed from a comfortable desk chair. Players read it in glare, rain, low light, winter layers, and the quick pace of a busy weekend round. Design choices must account for those conditions.
Use high-contrast color combinations and avoid relying on color alone to communicate route information. A bright line on a satellite image may look impressive on a screen but disappear when printed small or viewed in sunlight. Simplified, course-specific hole layouts are usually more useful than overly detailed aerial images. Players need to see the tee, intended flight path, key hazards, basket location, and any relevant out-of-bounds areas quickly.
Type size should reflect viewing distance. The hole number and distance need immediate visibility from a few steps away. Supporting details can be smaller, but they should still be readable without leaning into the sign. Keep arrows bold and unambiguous. If a route requires a right turn, the arrow should say that clearly without forcing the player to interpret an abstract symbol.
Durability is part of readability. Faded graphics, peeling edges, warped panels, and marker-written updates communicate that the course is not being maintained. UV-protected printed signage on durable substrates such as aluminum composite or aluminum gives parks and clubs a better long-term result than temporary materials. The right material depends on exposure, mounting method, budget, and whether vandalism resistance is a concern, but outdoor performance should be considered from the start.
Use the Course Map as an Operational Tool
A course overview map should do more than look good at the trailhead. It can reduce staff interruptions, clarify park expectations, and help emergency response when a visitor needs to identify a location.
Include a clear You Are Here marker on every installed map, especially if maps appear at multiple locations. Mark parking, restrooms, water, shelters, practice baskets, roads, walking trails, and other amenities that affect player movement. If the course has tournament layouts, alternate pin positions, seasonal closures, or shared-use warnings, determine whether those details belong on the permanent map or should be handled with temporary updates.
There is a trade-off between including every detail and keeping the map usable. Permanent signs should focus on stable information. Course changes, league notices, temporary hazards, and event-specific rules can be handled separately so the core map remains accurate for years.
Plan for Sponsors Without Sacrificing Navigation
Sponsorship can make a signage project more attainable, particularly for volunteer-led clubs, municipal improvement projects, and Eagle Scout initiatives. Sponsors may fund individual tee signs, a course map, or a full package. Their recognition can create a meaningful return for local businesses while helping the course reach a higher standard.
The key is to reserve sponsor space intentionally. A consistent sponsor area at the bottom or side of each tee sign keeps logos visible without competing with the hole map and distance. Establish size rules early, including whether sponsors receive a logo, name, message, or renewal placement. This prevents a last-minute collection of mismatched artwork from weakening the overall design.
For public agencies, confirm sponsorship policies before design begins. Some parks limit commercial messaging, require approval language, or define where recognition may appear. A sign provider familiar with disc golf projects can build sponsor-ready layouts that respect those requirements while keeping the player experience clear.
Create a Practical Project Workflow
The best signage projects begin with accurate course information. Gather hole distances, pars, tee and basket locations, preferred routes to the next tee, logo files, park branding standards, sponsor details, and installation photos before artwork is started. If the course has changed recently, verify every hole in the field rather than relying on an old scorecard or online layout.
A structured proofing process is essential. Review the overall map first, then confirm each tee sign for hole number, distance, fairway path, hazards, pin placement, and next-tee direction. Have at least one person who knows the course deeply and one person who can evaluate the signs as a new visitor. Those perspectives catch different problems.
Before final production, print a sample at a workable size or review a full-scale proof where possible. Details that look fine on a laptop can become too small, too faint, or too crowded on a physical panel. This is also the time to confirm mounting hardware, post dimensions, installation locations, and any local permitting requirements.
A professional partner such as Custom Disc Golf Tee Signs can help turn field notes, rough sketches, and sponsor assets into coordinated course maps, tee signs, and navigation panels. The goal is not generic signage. It is a complete, course-specific system that reflects how players actually move through your park.
When the final sign is installed, test it before calling the project finished. Ask someone unfamiliar with the course to play several holes without guidance. Every hesitation, wrong turn, or missed sign is useful feedback. Correcting those small gaps is how a good park disc golf wayfinding plan becomes a course that feels welcoming from the first tee to the final basket.