Disc Golf Sign Fabrication Timeline: What to Expect
A new sign package can change how players experience a course on their very first round. Clear tee signs reduce wrong turns, polished graphics make the property feel cared for, and sponsor space can help fund the project. But a successful disc golf sign fabrication timeline starts well before material reaches the printer. It depends on the quality of course information, the speed of design approvals, the level of customization, and how well the installation is planned.
For park departments, clubs, course owners, and volunteer project leaders, the goal is not simply to order signs quickly. It is to move from an idea to a consistent, durable on-course system without creating avoidable delays. Here is what to expect at each stage and how to keep your project moving.
What Shapes a Disc Golf Sign Fabrication Timeline
There is no single production window that fits every course. A basic package with finalized hole data and simple branding can move faster than a championship-level system featuring custom hole maps, sponsor placements, course overview signage, and unique sign shapes. The more decisions that are settled before design begins, the more predictable the schedule becomes.
The largest variable is usually the proofing process. Production cannot responsibly begin until the people responsible for the course confirm that distances, pars, hole layouts, next-tee directions, logos, sponsor information, and safety notes are correct. A sign may be physically durable for years, but a single incorrect route arrow or outdated pin position can frustrate players immediately.
Material and finish also affect planning. Durable UV-protected aluminum composite and aluminum signs are built for outdoor use, but fabrication still requires time for printing, finishing, quality checks, packing, and shipment. If a course needs signs for a grand opening, league season, tournament, or municipal event, work backward from the installation date rather than waiting until that date is close.
Stage 1: Build a Complete Course Information Package
The fastest projects begin with organized source material. Before artwork starts, gather the information that will appear on every sign: hole number, par, distance, tee-pad details, basket location, mandatory routes, out-of-bounds areas, and next-tee navigation. A current course map, aerial image, or marked-up layout is especially useful for accurate hole graphics.
For an established course, do not assume older scorecards or online listings match the current layout. Walk the course if possible. Confirm alternate pin positions, recent reroutes, new landscaping, and any temporary features that have become permanent. If the course has short and long tees, clarify whether each tee needs its own sign or whether one sign must communicate both layouts cleanly.
Brand assets deserve the same attention. Provide high-resolution logos for the course, managing organization, city or parks department, and approved sponsors. Low-resolution images can hold up the design process or limit the final visual quality. If sponsor logos are still being collected, decide whether the project should wait for them or whether sponsor panels will be handled in a separate phase.
This stage can be brief when one course manager has final authority and complete information. It takes longer when a city department, club board, land manager, and sponsor group all need to weigh in. That is not a reason to rush. It is a reason to establish a single point of contact who can consolidate feedback.
Plan for sponsor decisions early
Sponsorship is one of the most practical ways to offset a signage budget, particularly for clubs, public courses, and Eagle Scout or community improvement projects. It also introduces deadlines of its own. Businesses need time to commit, submit their logo, and approve how their name will appear.
Set a sponsor cutoff before the sign design reaches final approval. Without one, a project can become trapped in repeated revisions as late sponsors request additions. A well-defined sponsorship tier and logo-placement policy protects both the fundraising effort and the fabrication schedule.
Stage 2: Course-Specific Design and Proofing
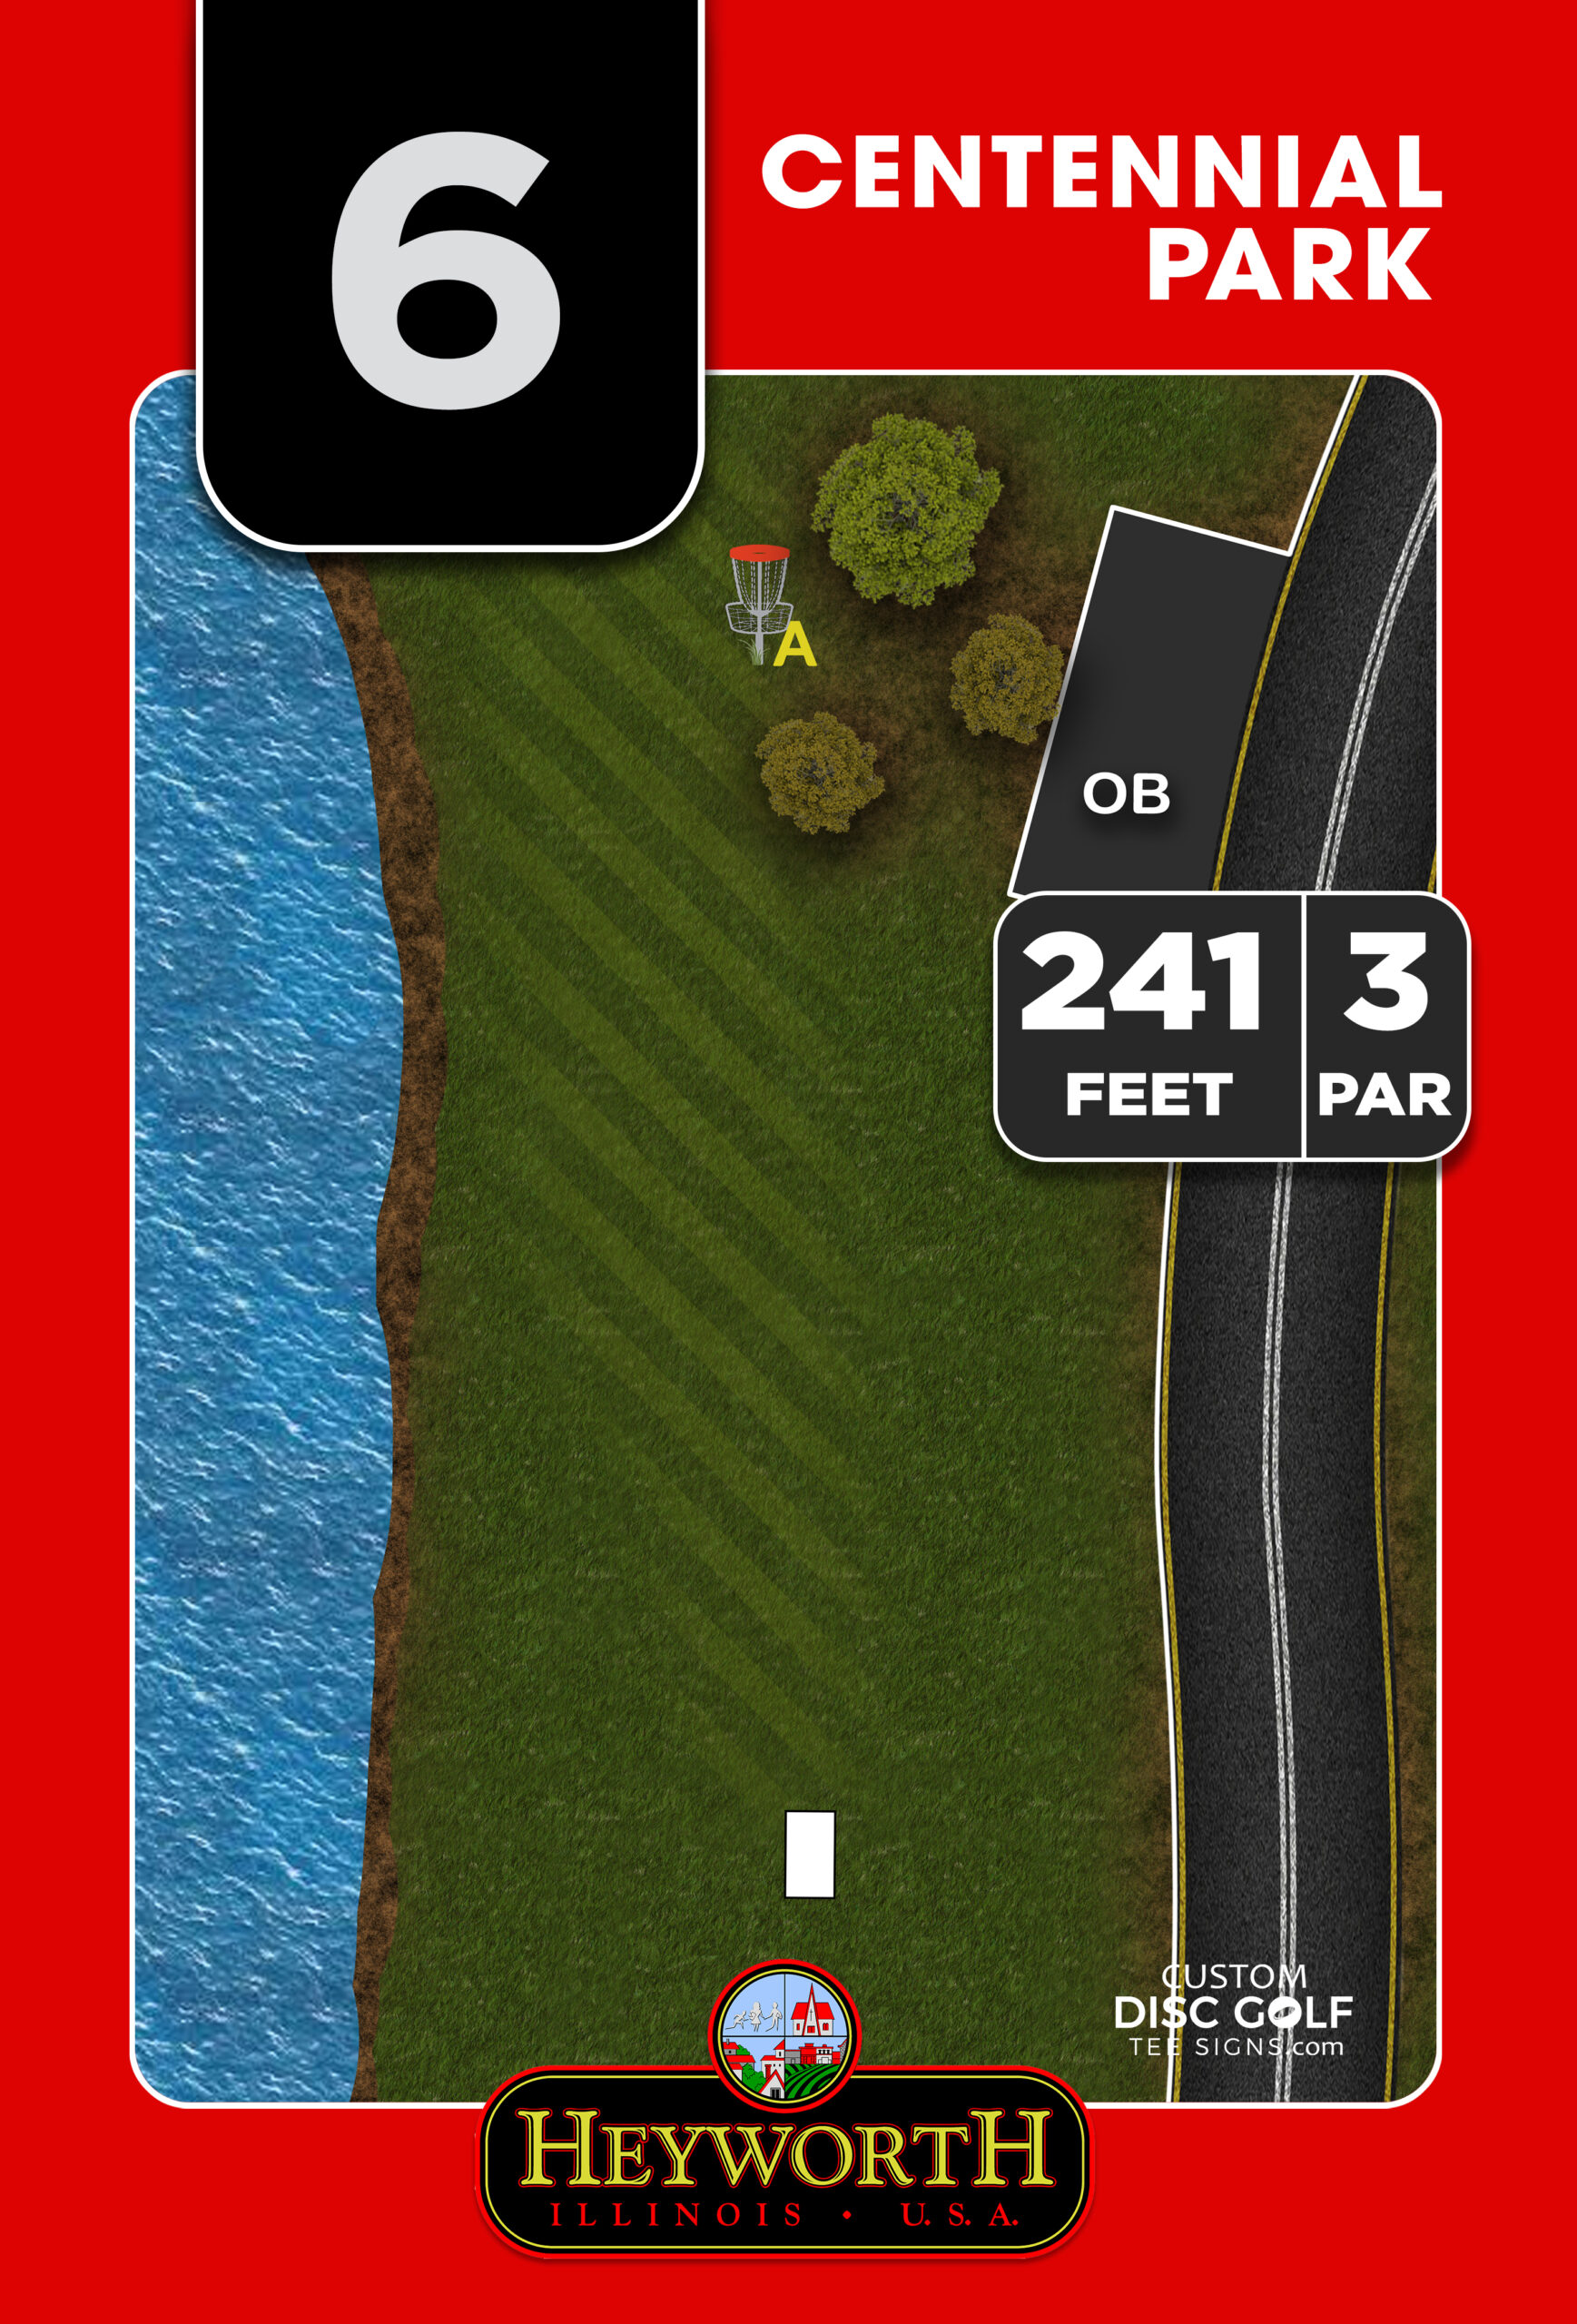
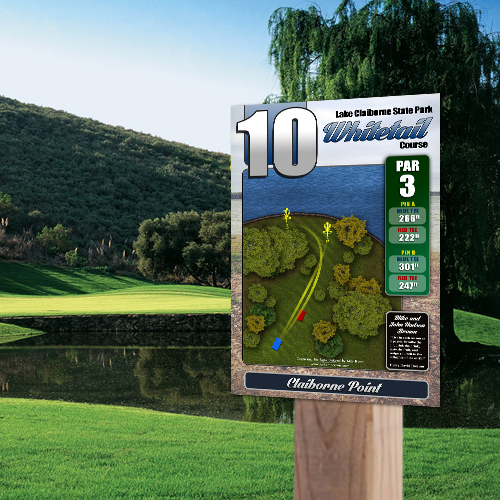
Once the course details are in hand, the design phase turns raw information into signs players can read from the tee. This is where disc golf-specific experience matters. A hole map needs to communicate the intended fairway, hazards, landing zones, and basket direction quickly, not merely look attractive on a screen.
A strong sign system also creates visual consistency from hole to hole. Fonts, colors, map symbols, sponsor areas, and navigation cues should work together. Course overview signs and maps should match the tee signs so players can orient themselves at the parking area and continue confidently through the round.
Expect to review digital proofs before fabrication. This is the right time to correct a hole distance, request a clearer hazard label, adjust sponsor placement, or refine a color choice. Proof approval is more than an administrative step. It is the final confirmation that the physical signs will represent the actual course.
The most efficient review process is consolidated and specific. Instead of separate emails from several stakeholders with conflicting edits, have the project lead collect comments and submit one marked-up response. Review every sign, even when a shared template is being used. Repeated elements can be consistent while individual holes still contain unique details that require attention.
What commonly slows proof approval
Late layout changes are the most common cause of schedule movement. A new basket location, remeasured distance, changed par, or pending sponsor can require revisions across more than one sign. Municipal projects can also need an extra approval layer for logos, accessibility messaging, or park standards.
The trade-off is straightforward: a faster approval process gets the signs into production sooner, while a more deliberate review can prevent expensive corrections after installation. If a major course redesign is planned in the near future, it may make sense to wait or to create signs that can accommodate a clearly defined alternate layout.
Stage 3: Fabrication, Quality Checks, and Packing
After final proof approval, the project moves into fabrication. Full-color artwork is printed on the selected substrate and prepared for the outdoor environment. Materials such as aluminum composite and aluminum offer a professional appearance and the durability needed for sun, rain, temperature changes, and regular course use.
At this point, changes should be treated carefully. A correction discovered before production is usually manageable. A correction requested after printing has started can affect timing and cost because the artwork, material, and production sequence may need to be adjusted. That is why clear sign-off matters.
Fabrication is not just printing. Each sign must be checked for correct artwork, legibility, color quality, cut shape, and overall finish. Signs then need protective packing so they arrive ready for installation rather than damaged by transit. Custom-shaped premium signs or large course maps may require additional handling compared with a standard rectangular tee sign.
For a project with a firm deadline, leave room for this quality-control stage. A sign package should arrive looking polished and organized, not pushed out the door before every detail has been verified.
Stage 4: Shipping and Installation Preparation
Shipping should be considered part of the project schedule, not an afterthought. Free shipping can simplify budgeting, but delivery timing still depends on destination, carrier conditions, package size, and the number of signs in the order. Avoid scheduling volunteer installation crews for the day a shipment is expected. Build in time to receive, inspect, sort, and stage the signs.
Installation preparation can happen while fabrication is underway. Confirm post locations, mounting hardware, local utility-marking requirements, tools, concrete needs, volunteer assignments, and site access. If old signs need to be removed, decide where they will be stored or disposed of before the new package arrives.
A simple hole-by-hole installation checklist helps prevent mix-ups. Sort signs in course order, match each sign to its planned post, and verify orientation from the tee pad before securing anything permanently. For overview signs, consider where first-time visitors naturally enter the property and where they are most likely to need directional guidance.
Weather matters here. Frozen ground, heavy rain, park closures, tournament traffic, and limited maintenance staff can delay installation even when the signs have already arrived. A practical timeline includes a backup installation date, especially for public facilities.
How to Keep Your Sign Project on Schedule
The most reliable way to shorten the timeline is not to skip steps. It is to remove uncertainty before each step begins. Assign one decision-maker, complete a course walk-through, collect final logos, establish sponsor deadlines, and set a clear proof-review window. If several groups must approve the project, tell them early when their response is needed.
It also helps to separate fixed details from future possibilities. If a new tee or basket is only being discussed, do not let an unresolved idea hold up every sign unless it is likely to change before installation. Your signage partner can help you choose a practical approach based on the course’s plans, budget, and desired level of customization.
Custom Disc Golf Tee Signs is built around a structured design-to-proofing workflow because the best timelines are clear from the start. When your course information is ready and approvals stay organized, a professional sign system can move from concept to installation with far less friction.
Start planning before the old signs become an emergency. A measured, well-managed schedule gives your team time to get the details right, secure sponsor support, and install signage that brings the entire course to a higher standard.